by Nico Patakidis
“I don’t need a recipe for chocolate covered strawberries — how hard can it be?”
Names can be deceiving! Making a good chocolate covered strawberry means going the extra mile, especially if you’re making these for your lumbersnack on Valentine’s day. I’ve made these a few times and each batch was better than the last. The ingredients might be simple, but I’ve learned plenty of tips along the way to improve my method.
Ingredients:
1 pound of strawberries
12 oz Baker’s chocolate
- I find that Baker’s chocolate is easier to work with and looks nicer, but your choice of chocolate chips will work as well!
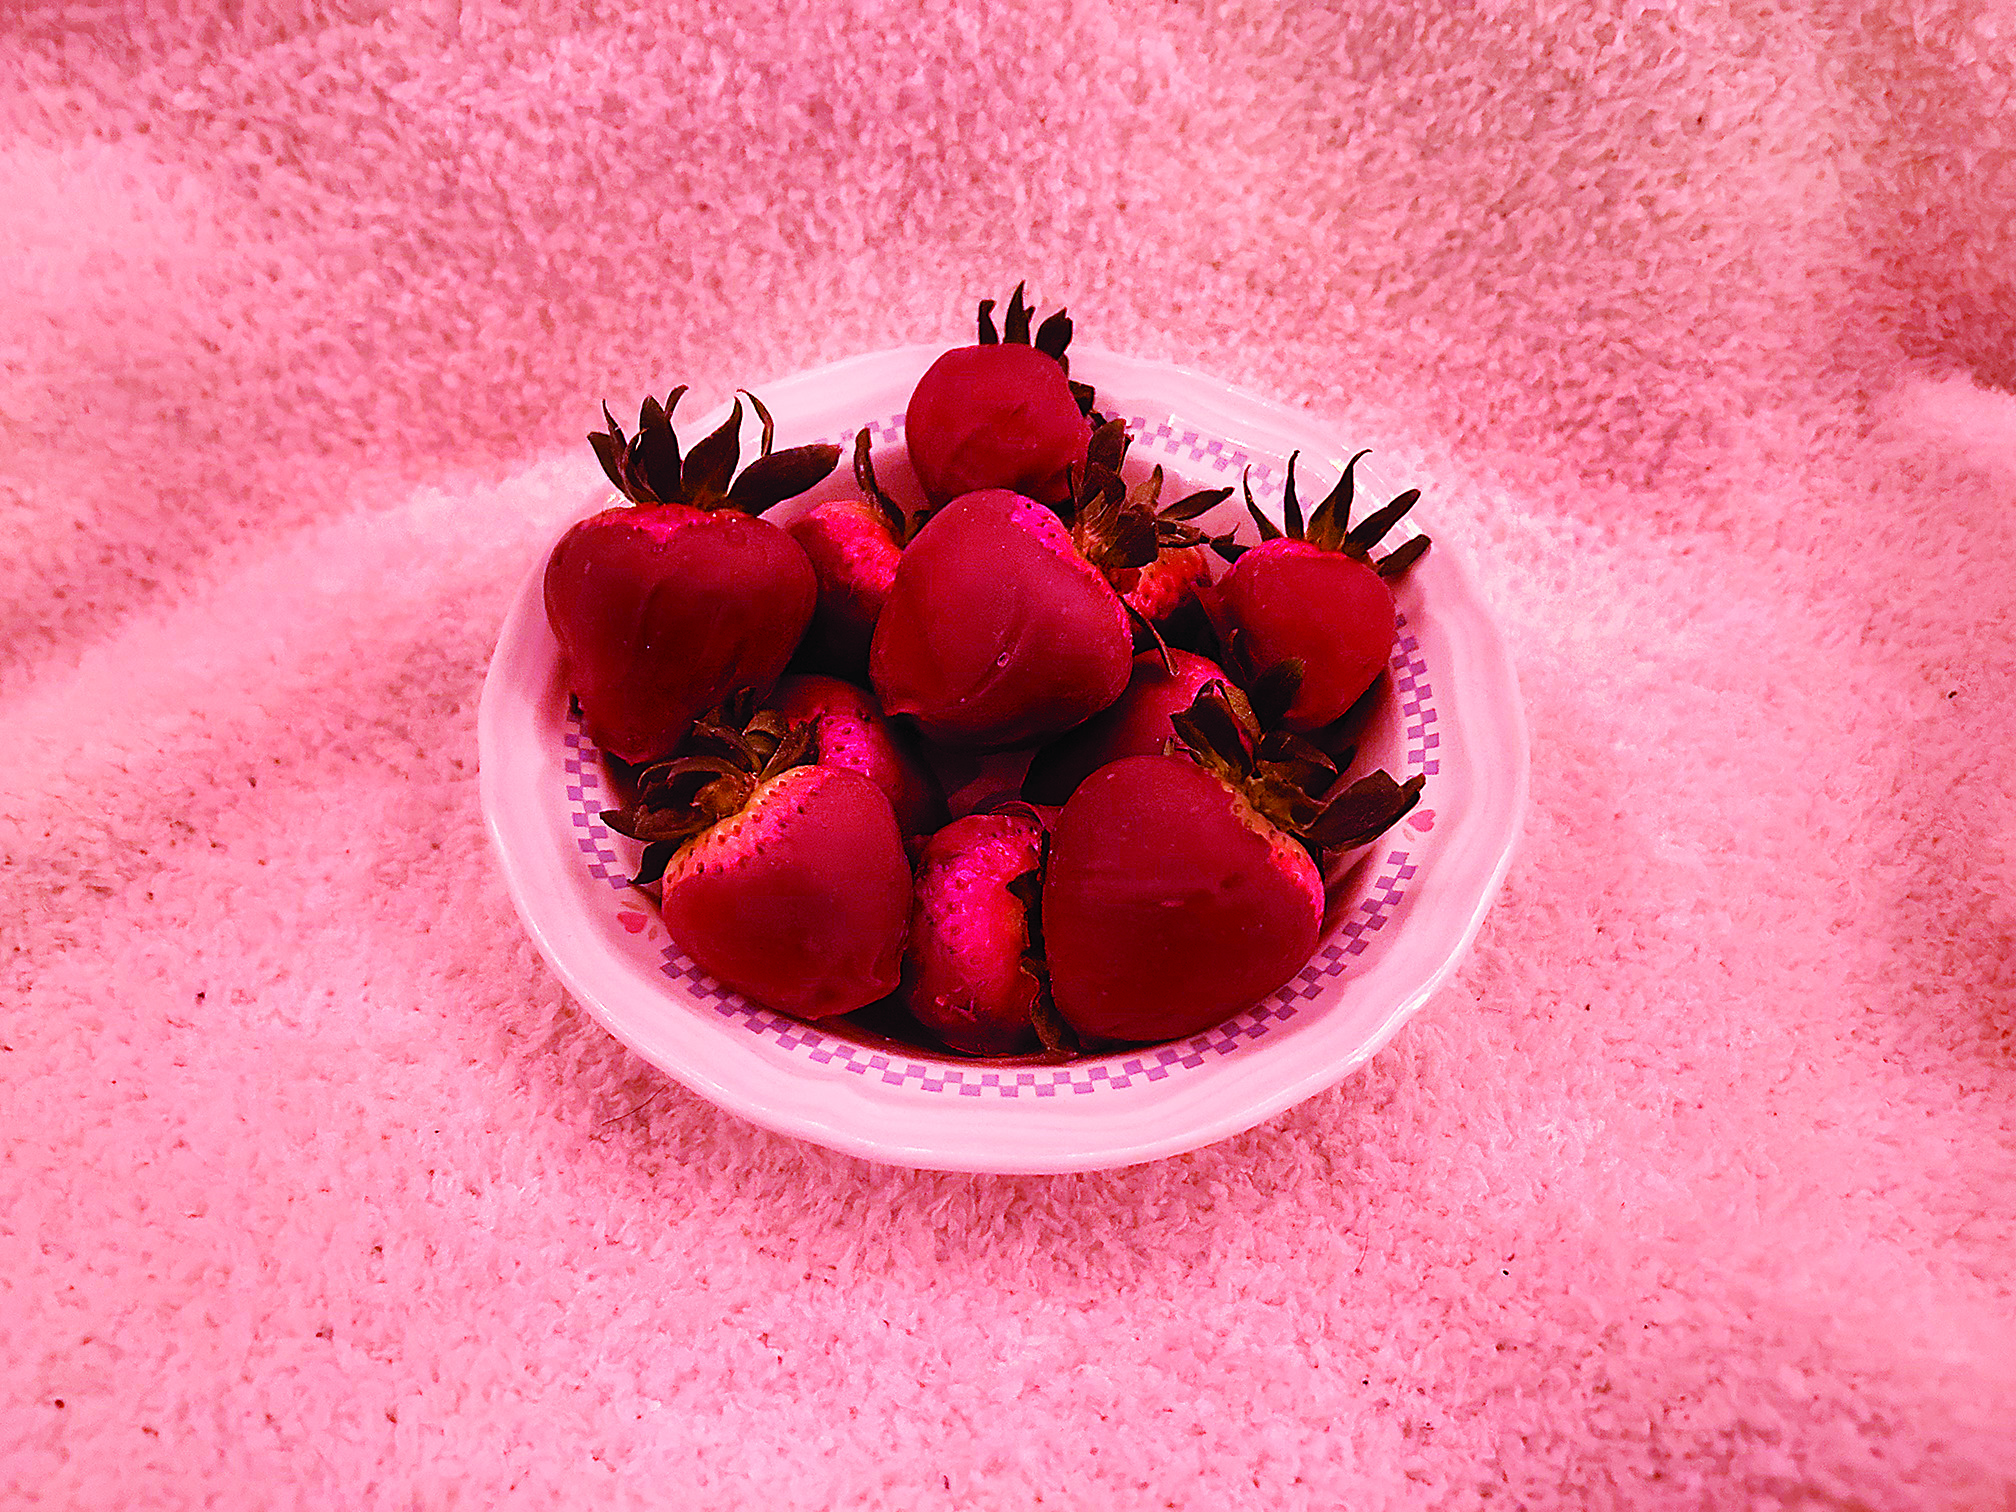
Step 1: Washing your berries
Start off by adding 1 cup of white vinegar and 3 cups of water to a large bowl, then submerge your strawberries for 5 minutes. Some people don’t think there’s a difference between soaking your strawberries in vinegar or just giving them a quick rinse, but there is! Vinegar will kill and mold spores on the surface of your berries and keep them fresh longer. After five minutes, rinse your strawberries thoroughly to get rid of any vinegar taste. Maybe taste test a few to be sure.
Step 2: Drying
After rinsing your strawberries, spread them out stem side down on a clean towel to ensure they dry properly. Leave them for 10 to 15 minutes then pat dry. It’s good to make sure your strawberries are completely dry before dipping them in chocolate, as the water can ruin its texture and appearance.
Step 3: Preparing to melt chocolate
It isn’t as easy as just throwing a bowl of chocolate in the microwave for 30 seconds. You should use a double boiler to make sure the chocolate doesn’t burn and stays evenly heated. To set up a double boiler, get a medium sauce pan and a heat-safe bowl that can rest inside it. Fill your saucepan about one-third of the way with water, but make sure that the bottom of your bowl doesn’t touch the water inside.
Now line a baking sheet with wax paper to set your strawberries on after you dip them. Wax paper is gonna stop your chocolate from sticking, letting you take your berries off without cracking the shell.
Step 4: Melting the chocolate
Start off by simmering your water. Leave your bowl to the side for now and add about three-fourths of your chocolate to it, but set aside a quarter.
Once the water simmers, turn the heat to low and place your bowl on top. The chocolate will start melting fast, so stir constantly to keep it from burning. Keep stirring until the chocolate looks nice and shiny but still has a few lumps in it, then remove it from the heat. Add the rest of your chocolate and stir until it’s fully melted. Adding the rest of the chocolate now will temper it. Tempering the chocolate helps it set, making it form a harder shell around the berries and giving them a glossy shine.
Step 5: Dipping
The fun part! Hold your strawberries by pinching the stems to give yourself a good grip and prevent the leaves or your fingers from getting chocolate covered. Let some of the excess chocolate fall off the strawberries to make sure they’re evenly coated before you place them on the wax paper.
Leave your berries out to set at room temperature. They should be finished when the chocolate shell doesn’t feel tacky. Once the chocolate has set you can refrigerate them. I recommend you serve them to your sweetheart within 24 hours!
These chocolate covered strawberries are approved by my girlfriend — she’s my lumbersnack ;).
Leave a Reply