A step-by-step guide to making face masks
Although N95 face masks are the only masks proven to protect against COVID-19, companies and people across the nation are rushing to their sewing machines to help produce protection for frontline healthcare workers.
New York City Governor Andrew Cuomo asked companies to shift their operations to make face masks and ventilators at a press briefing March 20.
“I’ll fund a new business if you can make these products,” Cuomo said. “I’m trying to make these products. If you are in this line of work, we need masks. If you are making clothing, figure out if you can make masks. I’ll fund it.”
Deaconess, an Indiana healthcare provider, has also asked the public for help to produce masks. They released a video tutorial in which they show how to sew a surgical face mask that complies with the Centers for Disease Controls and Prevention guidelines.
Hand-sewn masks compliant with CDC guidelines are permitted to be used by healthcare workers, but the masks are still considered a last resort by the CDC.
Considering the dire circumstances, a homemade mask is better than no protection at all. Here’s how to hand sew a face mask (all photos by Rachel Marty):
Materials needed:

Materials Needed
- Two pieces of 7-inch elastic
- Two sheets of 9-inch by 6-inch tightly woven and recently-purchased cotton
- A sewing machine
- Pin the two sheets of cotton fabric together and start sewing around the perimeter, leaving a quarter of an inch for the edge.
- At every corner, stop and place the end of the elastic in between the seam, making sure you place the straps horizontally on the 6-inch sides. The straps should go behind the ears, not vertically, or the straps will rest above your mouth and chin.
- Make sure to leave your perimeter undone. Leave an inch or two so you can turn it inside out.
- Turn inside out.
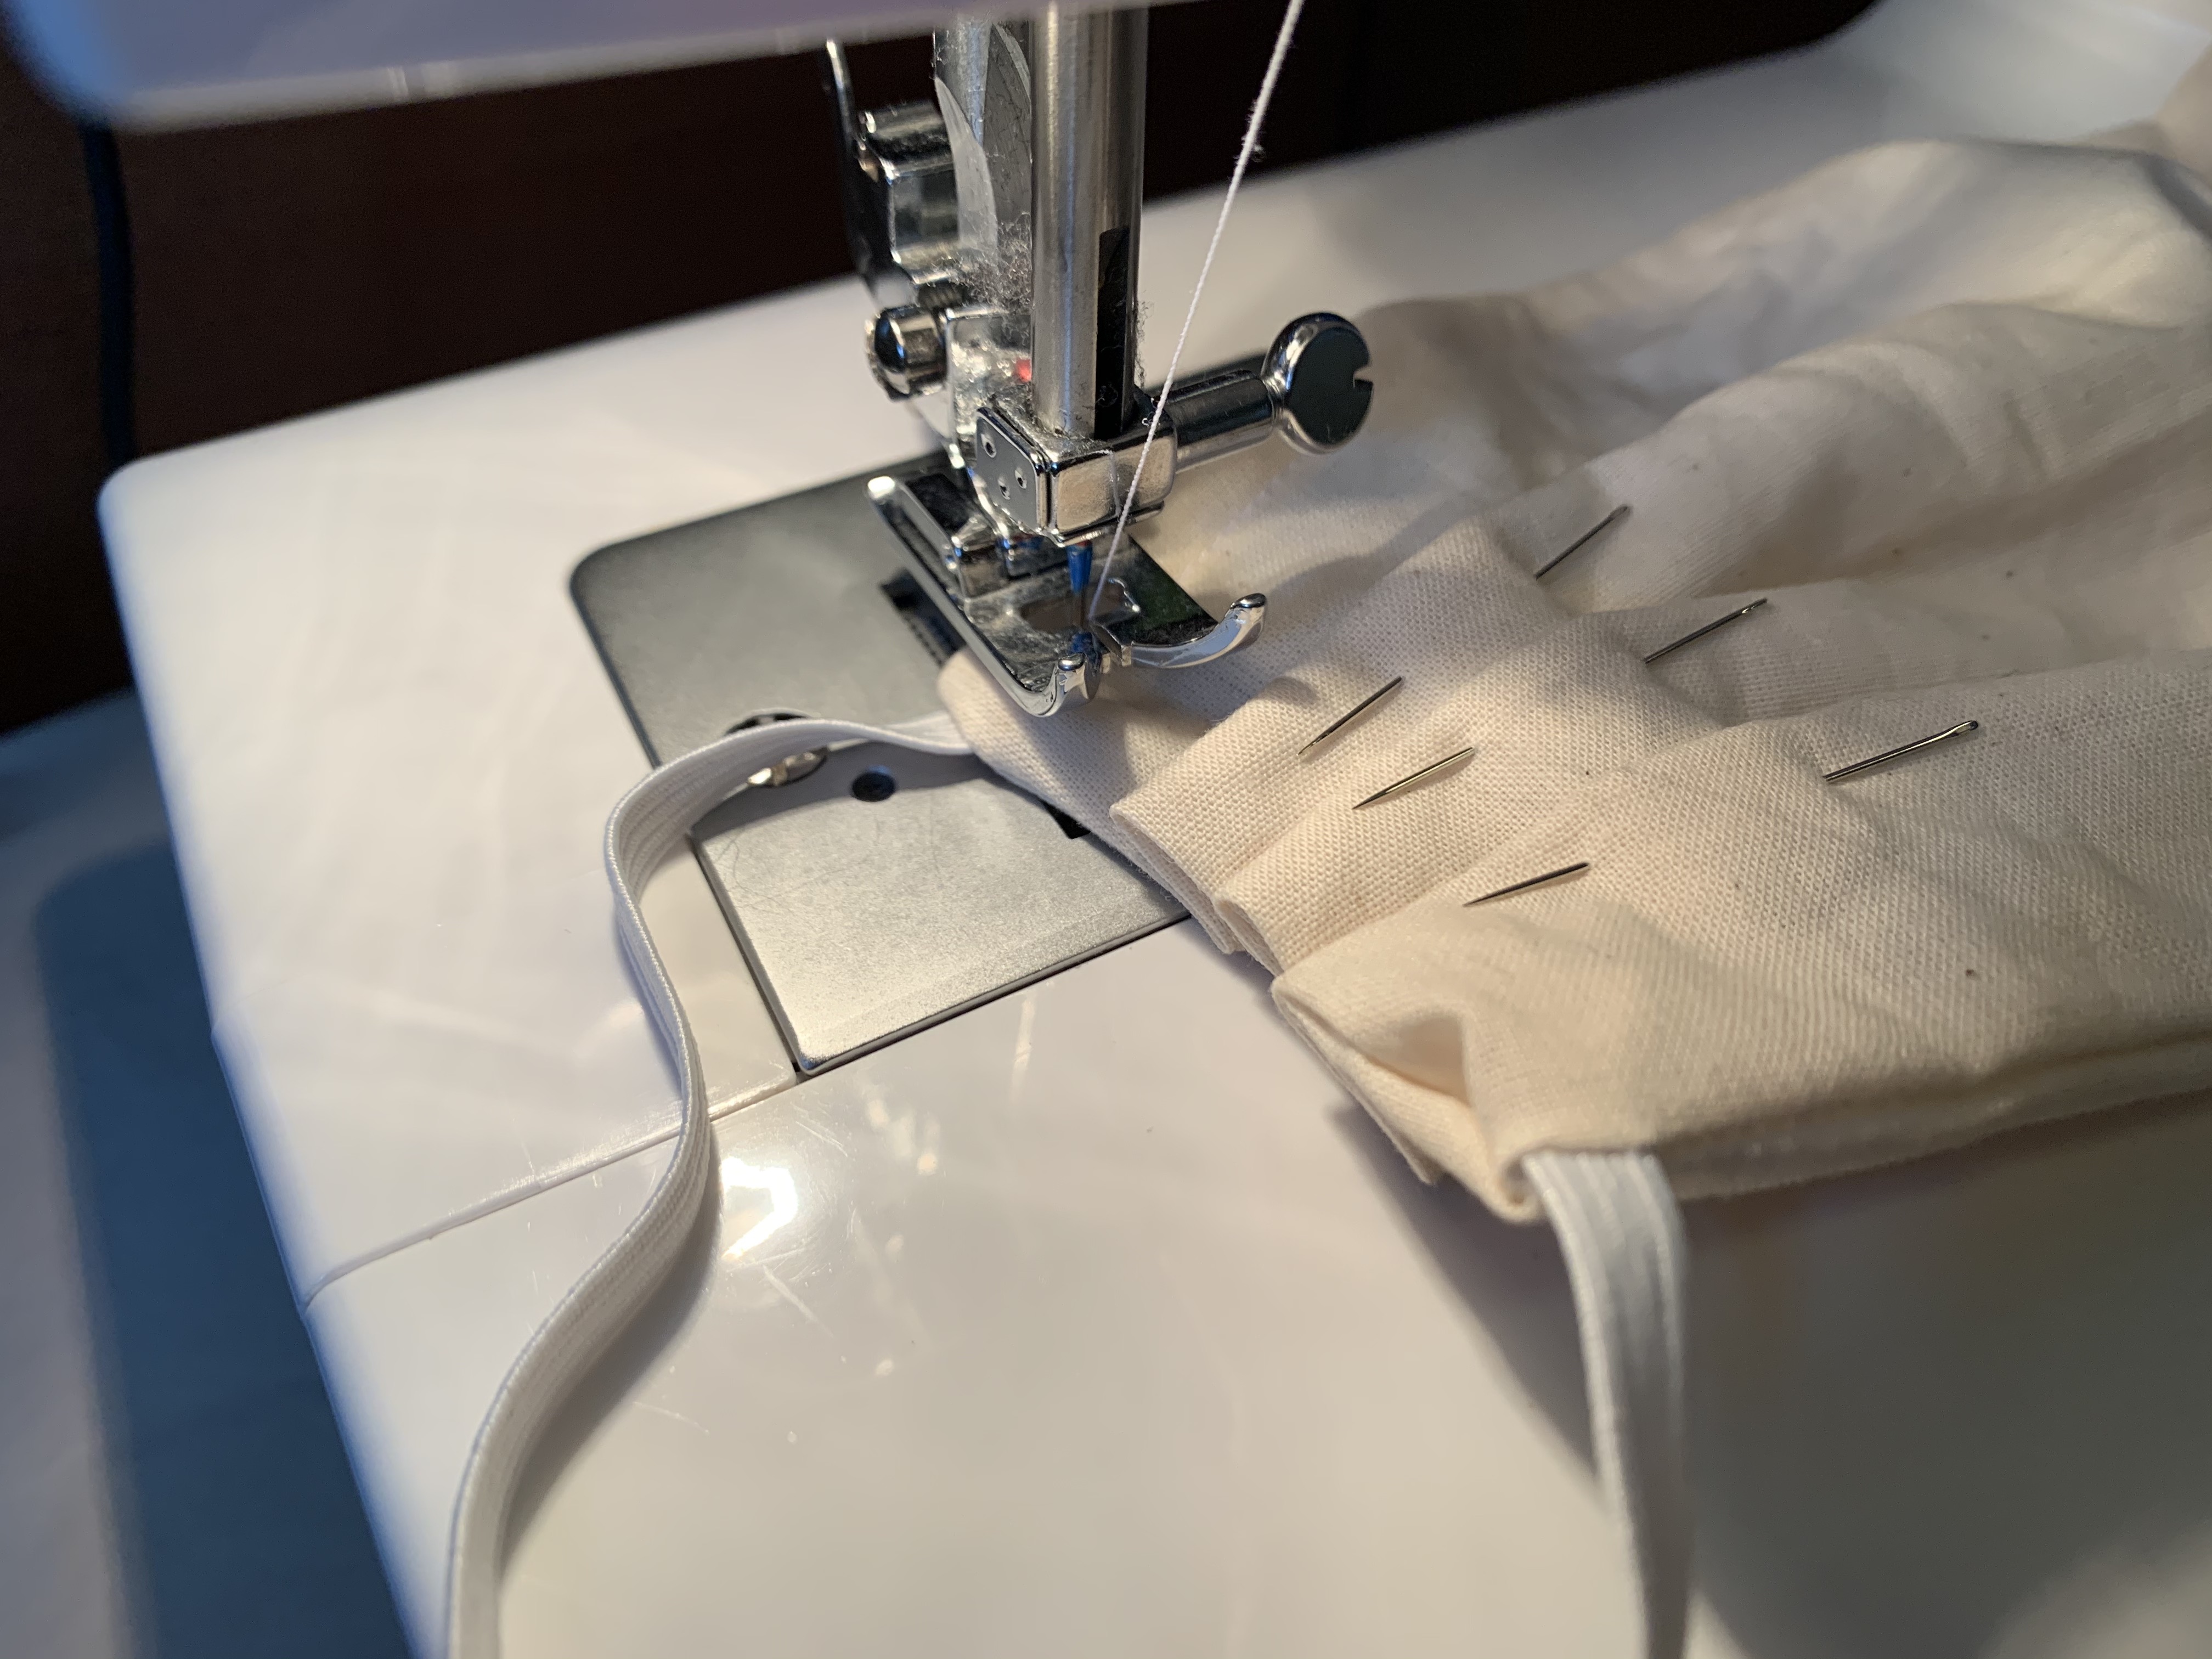
- Make three tucks on each side of the mask and pin them in place. Make sure they are going in the same direction on each side.
- Again, sew around the perimeter of the mask, leaving a quarter of an inch on the edge. Repeat twice to make sure it’s secure.
- And you’re done!

Step 1 
Step 2 
Step 3A 
Step 3B 
Step 4 
Step 5 
Step 6 
Step 7 (Done!)
Leave a Reply